Locations
Overview
Locations represent the physical containers within your facility where resources live. Examples include buildings, labs, rooms, bays, or cleanroom zones.
Locations are foundational to how Colabmacs models availability, access, and operating constraints across your facility.
What Locations Control
Locations define facility-wide defaults that apply to all resources contained within them.
Key Responsibilities
- 📍 Physical grouping of resources
- 🕒 Business hours and operating schedules
- 🔒 Location-wide access rules
- 🧱 Hierarchical structure (parent / sub-locations)
- 🛠 Shared downtime and infrastructure constraints
Location Hierarchy
Locations can be nested to reflect real-world layouts:
Building
└── Floor
└── Lab
└── Room
This allows rules, schedules, and availability to flow naturally through physical space.
Business Hours (Critical Concept)
Business Hours are defined at the Location level.
- They represent the maximum possible availability for resources in that location
- Resources inherit location business hours by default
- Resource-level hours may be more restrictive, but never more permissive
Tips
When configuring business hours at a location, always make them least restrictive. Fine-grained restrictions should be applied at the resource level.
Access Rules at the Location Level
Access Rules can be attached directly to a location.
How Location Rules Work
- Rules applied to a location automatically apply to all resources within that location
- Resource-level rules can add restrictions, but cannot override or relax location rules
- This ensures consistent enforcement of facility-wide safety and policy constraints
Warning
If a location-level rule blocks access, no resource inside that location can bypass it.
Examples:
- After-hours access rules
- General safety training requirements
- Facility-wide approval policies
For more detail, see: Access Rules – Admin Guide
Schedules and Downtime
Locations can have schedules attached to define:
- Holidays and facility closures
- Planned maintenance windows
- Temporary outages
When a location is unavailable:
- All resources within it become unavailable
- Bookings are automatically blocked (via schedule enforcement rules)
This makes locations ideal for facility-wide scheduling control.
See: Schedule Management
Training at the Location Level
Training can optionally be associated with a location to represent:
- Facility orientation
- Cleanroom access requirements
- Area-wide safety certifications
These trainings complement (but do not replace) resource- or process-specific training.
See: Training Management
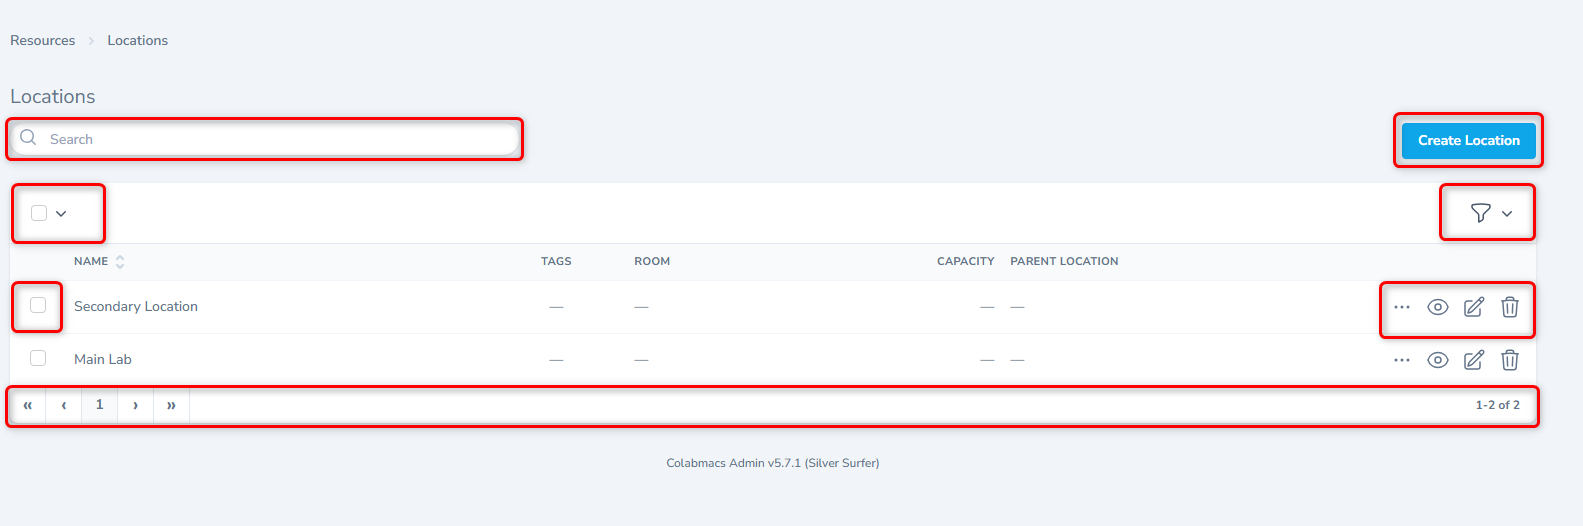
Resources Within a Location
Each location provides a live view of:
- All associated resources
- Their current availability
- State, visibility, and type
Locations act as the physical index for your equipment inventory.
See: Resource Management
Best Practices
Location Design
- Model locations to match how users move through physical space
- Use hierarchy to avoid duplicating rules and schedules
- Keep location names clear and intuitive
Rules & Hours
- Set broad, permissive defaults at the location level
- Apply tighter controls at the resource level
- Avoid duplicating the same rule across many resources
Scaling Facilities
- Locations are ideal for managing:
- Multi-room labs
- Cleanrooms
- Shared infrastructure dependencies
- Facility-wide shutdowns
Key Takeaway
Info
Locations define the physical and operational boundaries of your facility.
They are the top layer for availability, access, and scheduling — with resources inheriting and refining those constraints.